A frozen ridge of ice along the edge of a roof may look harmless from the driveway. The concern starts when melting snow backs up behind that ridge, slips beneath shingles, and finds its way into ceilings, walls, insulation, or exterior trim. Knowing how to prevent ice dam roof problems helps protect more than the roof itself. It helps protect the parts of your home that are expensive, disruptive, and stressful to repair.
Ice dams are not an everyday concern in the Memphis area the way they are in colder northern climates. Still, a hard freeze following snow, sleet, or repeated thaw-and-refreeze conditions can expose weak points in an attic, roof edge, gutter system, or older roofing assembly. A little preparation before winter weather arrives is far easier than responding to a roof leak during it.
Why Ice Dams Form on Otherwise Sound Roofs
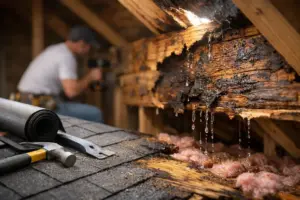
An ice dam forms when snow on the upper portion of the roof melts, runs down toward the colder eaves, and refreezes. As ice builds near the roof edge, later meltwater has nowhere to drain. That trapped water can work its way up beneath shingles and into the roof deck.
The key issue is usually uneven roof temperature. Warm air from the living space escapes into the attic and heats the roof deck above it. Snow melts on that warmer area, but the eaves remain cold because they extend beyond the heated portion of the house. The meltwater freezes there, creating the dam.
That is why ice dams are rarely just a gutter problem. Clogged gutters can make drainage worse, but the root cause is often an attic that is losing heat where it should not. Air leaks, inadequate insulation, blocked ventilation, and missing roof-edge protection can all contribute.
Prevent Ice Dam Roof Problems by Controlling Attic Heat
The most dependable long-term solution is to keep the attic cold and the living area warm. That sounds simple, but it requires the insulation and ventilation system to work together.
Seal air leaks before adding insulation
Warm, moist indoor air often escapes through small openings around recessed lights, plumbing stacks, wiring penetrations, attic hatches, bath fan housings, and wall-top plates. These gaps may not be visible from the rooms below, yet they can deliver enough heat into an attic to warm portions of the roof.
Air sealing should come first because insulation slows heat transfer but does not stop moving air. If insulation is added over unsealed gaps, warm air can still travel into the attic and reduce the effectiveness of that investment.
A professional inspection can identify common trouble spots, including damaged ductwork, unvented bath fans, and gaps around attic access points. In some homes, the solution may be as straightforward as sealing penetrations and improving the attic hatch. In others, electrical fixtures, ducts, or older framing details need more careful attention.
Maintain sufficient, even attic insulation
Insulation helps keep heat inside the conditioned portion of the home instead of allowing it to reach the roof deck. Coverage should be even, especially near exterior walls and eaves. Thin, compressed, wet, or displaced insulation can create warmer zones above the roof.
The right insulation level depends on the home’s construction, the existing material, and current energy standards. Rather than assuming more insulation is always the answer, have the attic evaluated as a system. Adding material without addressing air leaks or ventilation may improve comfort somewhat, but it may not fully correct the conditions that lead to ice dams.
Keep attic ventilation open and balanced
Proper ventilation allows cold outdoor air to move through the attic and helps maintain a more consistent roof temperature. Soffit intake vents near the eaves and exhaust vents near the ridge work together to create airflow. If insulation blocks the soffits, the intake side of the system cannot do its job.
Ventilation is not a substitute for insulation or air sealing. In fact, relying on extra ventilation to overcome major heat loss from the house is usually ineffective. The best results come from a balanced approach: seal indoor air leaks, insulate adequately, and confirm that intake and exhaust vents are clear and properly sized.
Protect Roof Edges and Drainage Paths
Roofing materials must also be installed with winter conditions in mind. Shingles shed water effectively when water flows down and off the roof. An ice dam changes that direction of travel, forcing water to sit near the eaves or move uphill beneath the shingles.
Check flashing and roof-edge protection
A properly installed roof system includes critical protection beneath the visible shingles. At vulnerable areas such as eaves, valleys, penetrations, skylights, and transitions, underlayment and flashing details help limit water intrusion if wind-driven rain or backed-up meltwater gets past the surface layer.
For roofs being replaced, ask the contractor how the roof-edge assembly will be handled. Code-compliant installation matters, but a thoughtful contractor should also consider the roof slope, overhangs, attic conditions, and the home’s exposure to winter weather. Premium shingles cannot compensate for weak installation details underneath them.
Keep gutters and downspouts clear
Gutters do not cause every ice dam, but they can make a small drainage issue much worse. Leaves, twigs, roofing granules, and standing water can block the path to the downspouts. When freezing temperatures arrive, that debris can become a solid obstruction.
Clean gutters in late fall, then check that downspouts discharge away from the foundation. Look for loose hangers, sagging sections, leaking seams, and sections that hold water after a rain. Seamless gutters with correct pitch and secure fastening help manage normal runoff more reliably, especially on homes with complex rooflines.
Avoid using heat cables as a first response unless a qualified professional has evaluated the situation. They can help in certain locations, but they do not fix attic heat loss, poor drainage, or failing roof materials. Improper installation can also create electrical concerns or shorten the life of roofing components.
What to Do When Snow and Ice Are Already on the Roof
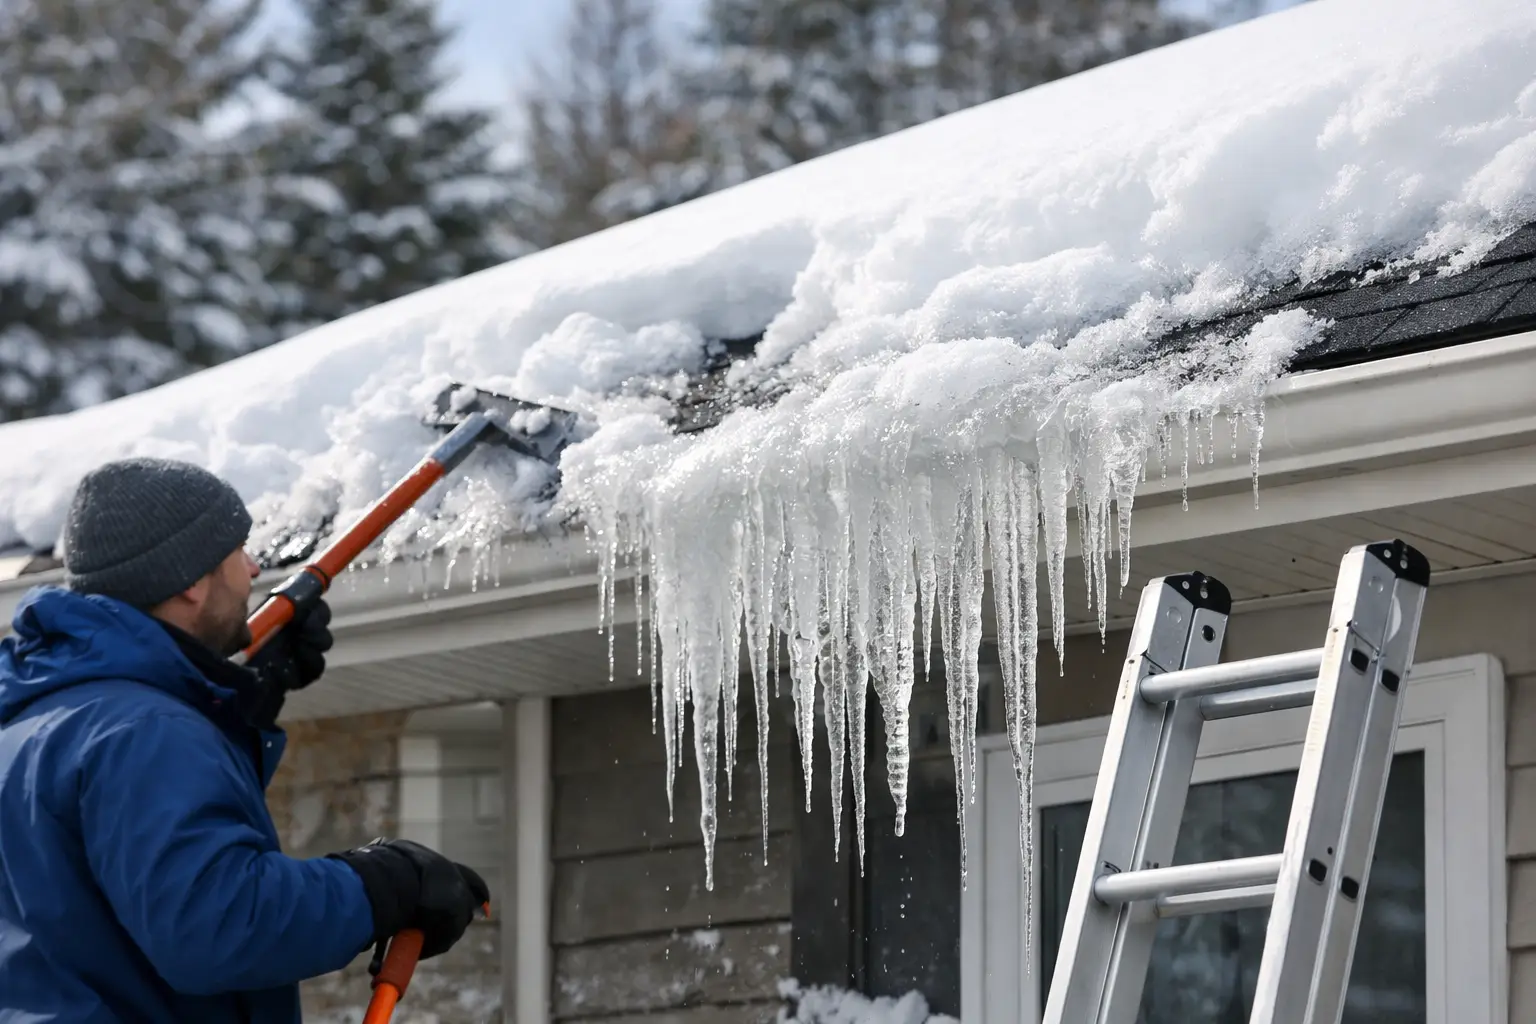
Once an ice dam has formed, safety comes first. Do not climb onto a slick roof, strike the ice with an axe or shovel, or chip aggressively at the shingle edge. Those approaches can damage shingles, flashing, gutters, and the roof deck, while creating a serious fall hazard.
From the ground, a roof rake can be used carefully to remove loose snow from the lower few feet of the roof, provided it can be done without pulling on shingles or damaging gutters. Reducing the amount of snow available to melt may limit additional water backup. It will not necessarily remove an existing ice dam, but it can reduce the pressure on the roof system.
Inside the home, watch for water stains, damp insulation, peeling paint, dripping around window and door trim, or a musty odor in the attic. Move furniture and valuables away from active leaks, place containers beneath drips, and document visible damage. If water is entering the home, prompt professional attention can help prevent a minor roof issue from becoming damaged drywall, insulation, flooring, or electrical components.
Know When an Inspection Is Worth Scheduling
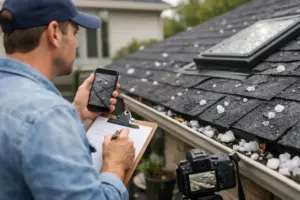
A roof inspection is especially useful if your home has had repeated winter leaks, large icicles at the eaves, uneven snow melt on the roof, stained ceilings, or unusually high heating bills. These symptoms do not always mean the roof needs replacement. They do mean the roof, attic, and drainage system deserve a closer look.
An experienced exterior contractor can assess shingle condition, flashing, ventilation, insulation concerns, gutter performance, and signs of past water intrusion. Precision Roofing & Exteriors approaches these evaluations with clear findings and practical recommendations, so homeowners can understand whether they need a targeted repair, drainage improvement, attic upgrades, or a more comprehensive roofing plan.
A Seasonal Checklist That Makes a Difference
Before the coldest weather arrives, inspect the attic for dampness, confirm that bath fans vent outdoors, clear gutters and downspouts, and look for missing shingles or damaged flashing. After a storm, check for unusual roof-edge ice buildup and interior water stains. These simple observations can catch a developing problem early.
The right prevention plan depends on your roof design and your home’s existing conditions. A newer roof with blocked soffit vents needs a different solution than an older roof with worn flashing and thin attic insulation. Addressing the actual source of heat loss and water backup gives your home the best chance of staying dry when winter weather turns unpredictable.